

Contents
Remove Tape in Hair Extensions
Summary:At LaaVoo, we are committed to your hair health throughout your extension experience—from flawless application to safe removal. Proper removal is crucial for protecting your natural hair and preserving your extensions for future use. This professional guide walks you through the safest, most effective methods.
Remove Tape in Hair Extensions Safely : A Step-by-Step Guide
What Tools and Supplies Are Required?
Gathering the right materials before you start ensures a smooth process.
How Do I Safely Detach the Tape-In Hair Extensions?
Follow these steps carefully to avoid damage to your natural hair or the extensions.
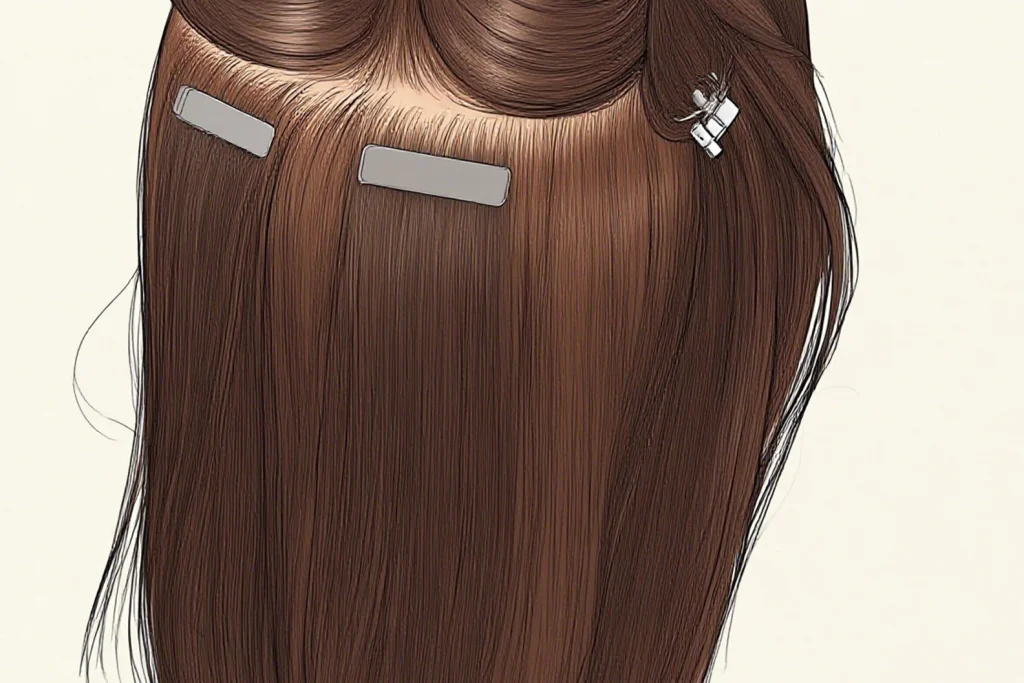
- Section Your Hair
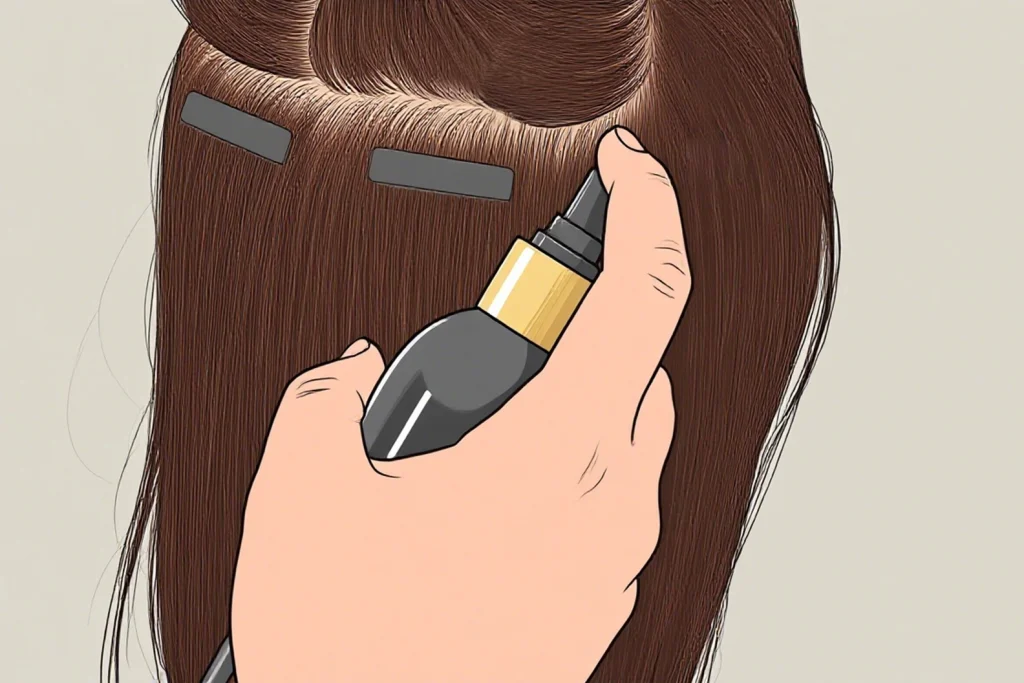
Use clips to isolate the top layers of your hair, fully exposing the tape-in wefts (the individual taped sections of hair). Ensure you have a clear view in a mirror, with no natural hair tangled over the adhesive tapes. - Loosen the Adhesive
Apply your chosen remover directly onto the tape tabs.- For Alcohol or Professional Remover: Spray or apply lightly and let it sit for 2–3 minutes to dissolve the glue.
- For Natural Oil: Massage generously into the tape and allow it to penetrate for 10–15 minutes. This method softens the glue gently.
- Gently Remove the Extensions
- Test the bond by applying gentle side-to-side pressure to a weft. If it moves freely, it’s ready.
- Start peeling from the outermost corner using your fingertips.
- Never pull or yank. If resistance is felt, apply more remover and wait longer for it to work.
- Test the bond by applying gentle side-to-side pressure to a weft. If it moves freely, it’s ready.
- Clean Up Residue
- Some leftover adhesive or minor tangling is normal.
- Use your fingers or a wide-tooth comb to gently work through any sticky spots or knots.
- Note on Shedding: It is normal to see 50-100 shed hairs that were naturally released but held in place by the tape. This is not cause for alarm.
- Some leftover adhesive or minor tangling is normal.
- Wash and Condition Your Hair
- Shampoo: Thoroughly cleanse your scalp and hair with a sulfate-free shampoo to remove all traces of remover or oil.
- Condition: Apply a deep conditioner, focusing on the mid-lengths to ends. Leave it on for 5-10 minutes to rehydrate the hair cuticle, then comb through and rinse.
Which Removal Method is Best For My Hair?
This comparison can help you decide based on your hair’s needs.
| Method | Best For | Processing Time | Key Benefit |
| Professional Remover | All hair types, especially first-time users | 2-3 minutes | Fast, effective, and formulated to be gentle on hair and scalp. |
| 91% Isopropyl Alcohol | Stubborn adhesive, non-sensitive scalps | 2-3 minutes | Highly effective and easily accessible. Avoid lower concentrations. |
| Natural Oil (Coconut, Almond) | Dry, damaged, or sensitive hair/scalps | 10-15 minutes | Nourishes hair while softening glue; the gentlest option. |
Pro Tips for Success Remove Tape in Hair Extensions
- Patience is Key: Rushing the process is the leading cause of hair damage. Always allow the remover adequate time to work.
- Post-Removal Care: Allow your hair to recover by avoiding heat styling for 48 hours. Gently massage your scalp to stimulate circulation.
- Reusing Extensions: If your wefts are in good condition, you can carefully clean the old adhesive residue and apply fresh tape strips for reapplication.
Essential Aftercare for Your Natural Hair
Post-removal care is vital for maintaining hair strength and shine.
- Detangle Daily: Use a wide-tooth comb to prevent knots and breakage.
- Nourish: Follow with a deep conditioning treatment weekly to maintain moisture levels.
- Scalp Care: A gentle scalp massage can promote healthy hair growth and relaxation.
By following this expert guide, you can ensure your natural hair remains healthy and your extensions stay in pristine condition for future use. For further questions, our professional team at LaaVoo is always here to support your hair care journey.
You might like these:
(blog)
remove tape in hair extensions,tapeins,tape ins,rimuovere il nastro dalle extension, tape-in, tape-in,retirer les extensions à bandes adhésives, tape-ins, tape-ins,,Klebeband-Extensions, Tape-Ins, Tape-Ins entfernen,