
How to Install I-tip Hair Extensions?
Installation of I-TIP Hair Extensions
1.Thread a small strand of one’s own hair through an elastic rope
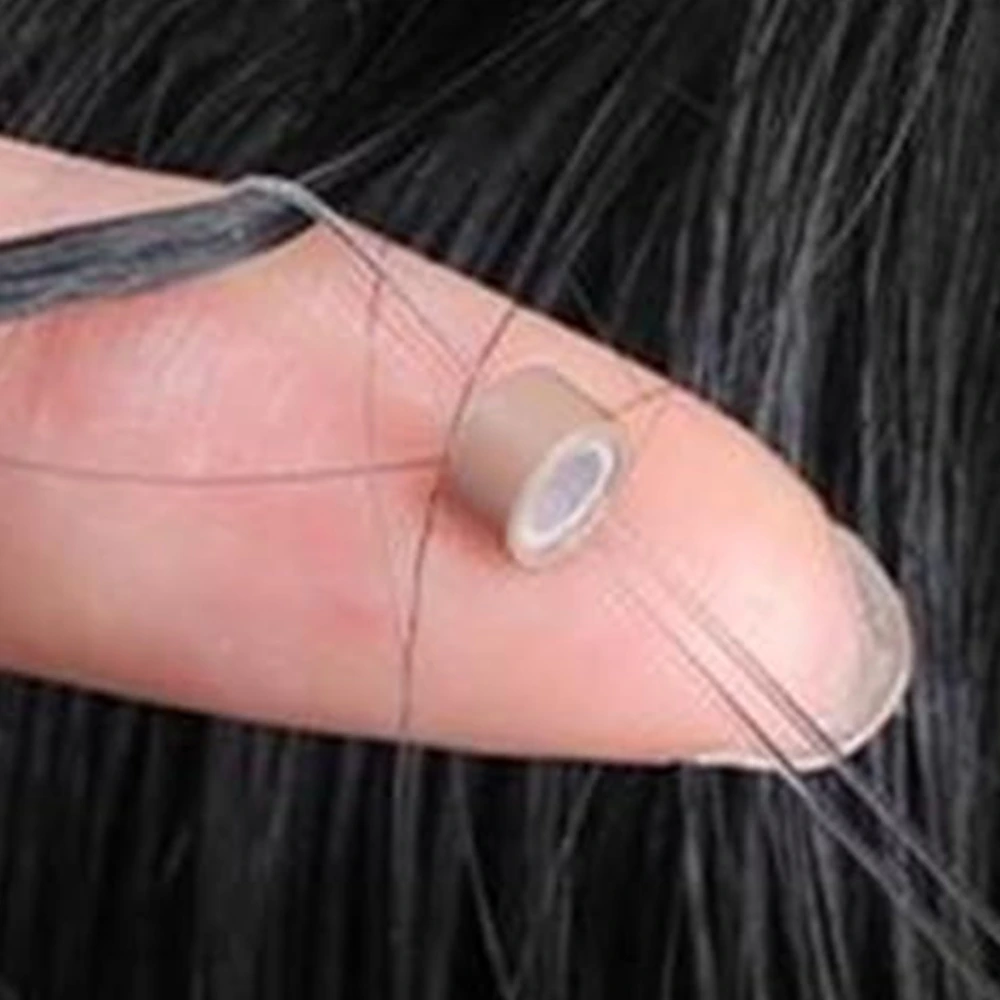
2. Pull the hair through the micro ring
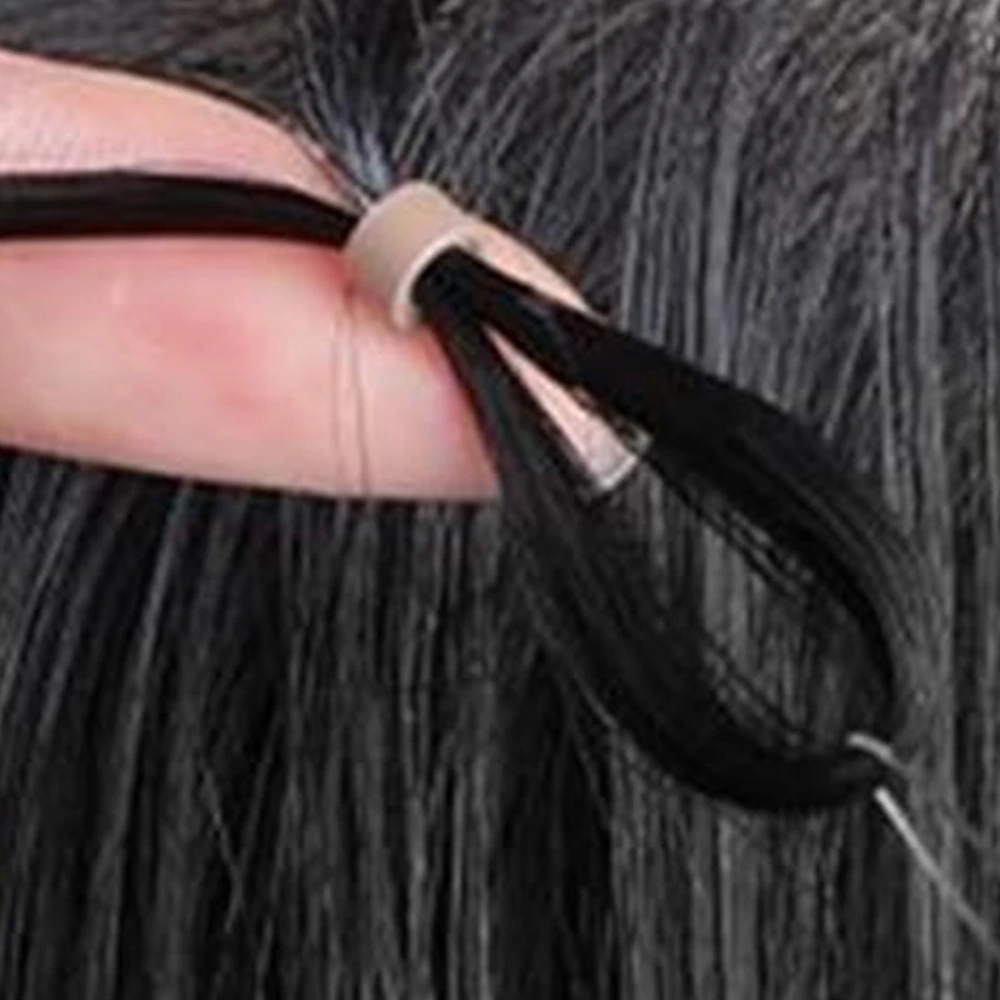
3.Thread the i tip into the hair extensions ring
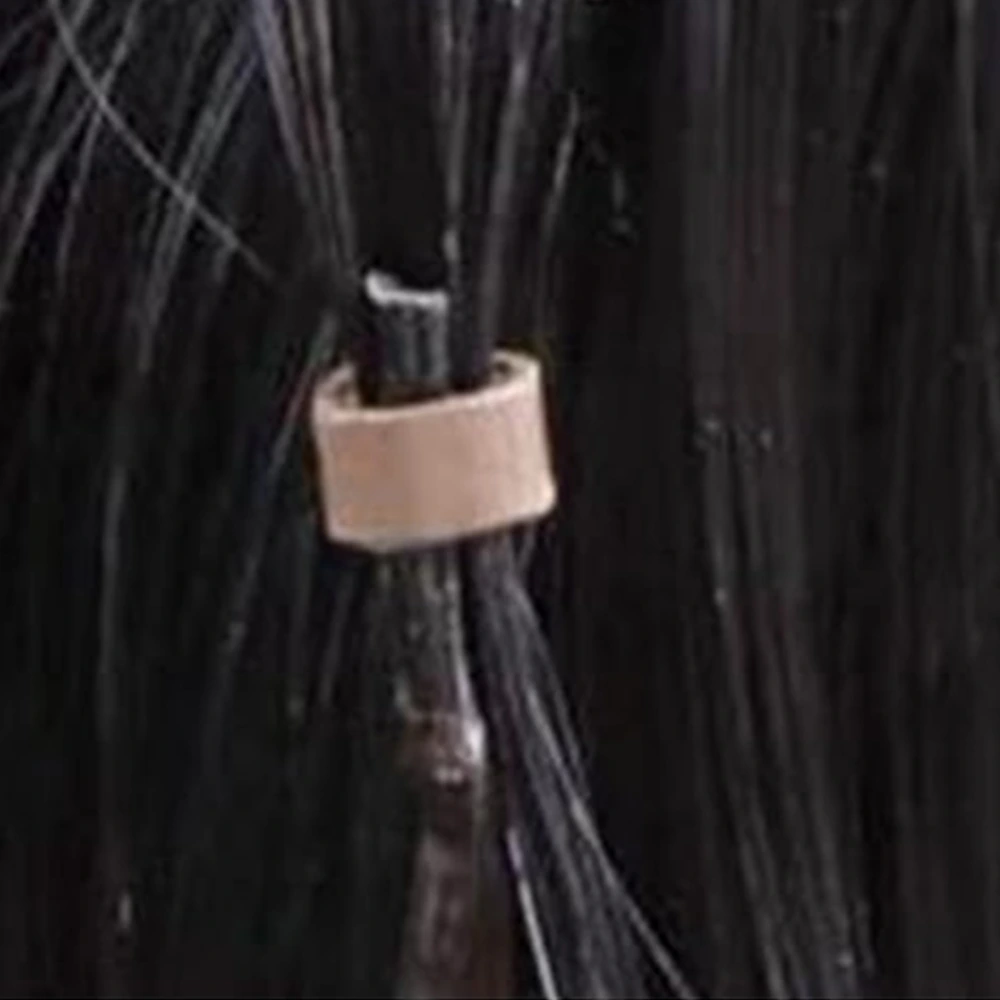
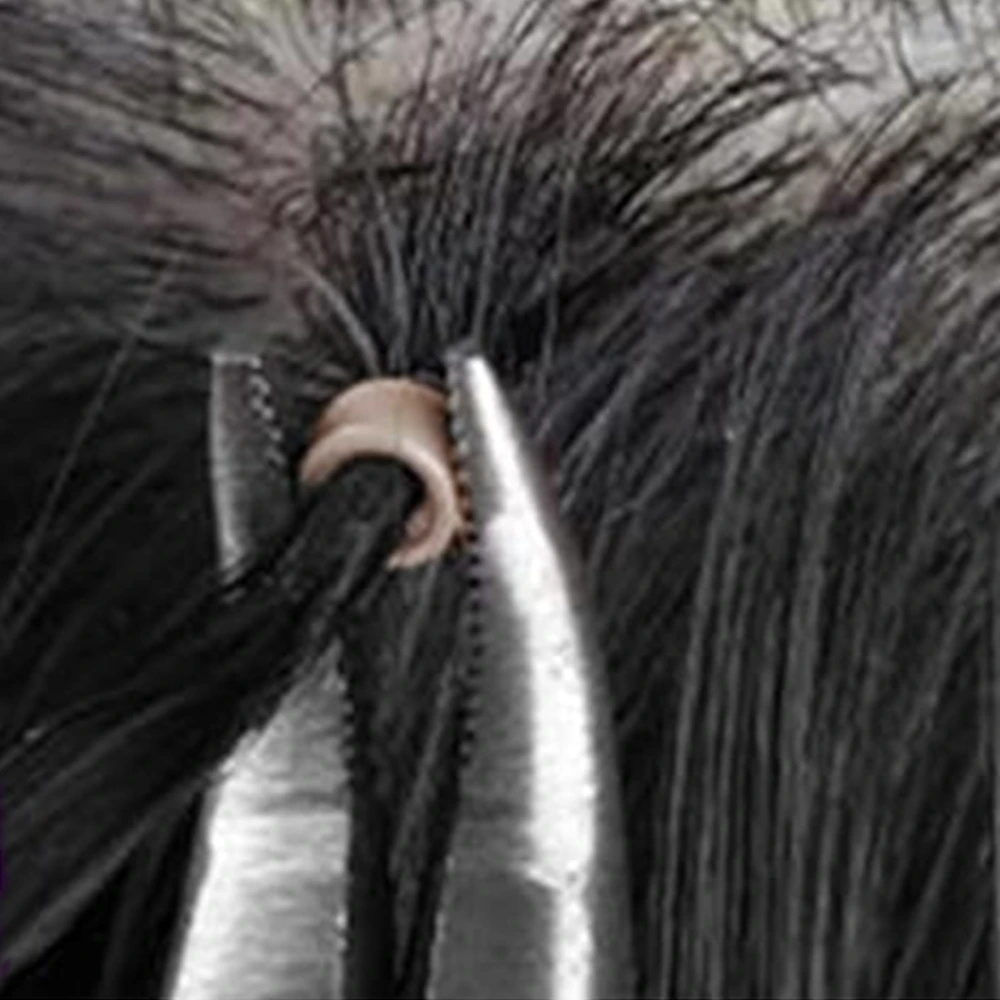
4.Press hard with the pilers on the micro ring becomes flat
Installation Video
Here is a video to help you better understand the installation
Wearing Precautions for I-tip Hair Extensions
1. Pre-installation preparation
Before applying I-tip hair extensions, ensure your natural hair is thoroughly washed and completely dry. Oily or damp hair can compromise the securement of nano rings, leading to potential slippage of the I-tip hair extensions. Comb your hair to remove tangles, and verify that each I-tip strand is free from damage or loose bonds to maintain installation integrity.
2. Installation sSteps for secure attachment
- Step 1: Hair Sectioning
Divide your natural hair into small, manageable sections using a tail comb. Work from the nape upward, ensuring each section is uniform to facilitate even distribution of I-tip hair extensions. - Step 2: Using Installation Tools
Thread a pulling needle through a nano ring, then grasp a small strand of natural hair and the I-tip hair extensions together. Guide the I-tip through the nano ring, positioning it 0.5 to 1.0 inch from the scalp to avoid excessive tension. - Step 3: Securing Nano Rings
Using smooth-jaw pliers, gently clamp the nano ring around the I-tip hair extensions and natural hair strand. Ensure the clamp is firm but not overly tight to prevent hair breakage or discomfort.
3. Post-installation maintenance
- Daily Care
Avoid excessive pulling or vigorous brushing of the I-tip hair extensions, as this can loosen nano rings or damage the bonds. Use a wide-tooth comb to detangle from the ends upward, especially after washing or styling. - Cleaning Guidelines
Wash I-tip hair extensions with mild shampoo and lukewarm water, focusing on the roots without directly rubbing the bonds. Rinse thoroughly and pat dry, avoiding heat styling tools on wet bonds to prevent weakening.
4. Longevity and styling tips
- Heat Styling Restrictions
If the I-tip hair extensions are made of human hair, limit heat styling to low temperatures (below 150°C) and use a heat protectant spray. Excessive heat can melt the keratin bonds, compromising the hold of the I-tip hair extensions. - Regular Inspection
Periodically check nano rings for signs of wear, such as looseness or corrosion. Tighten or replace rings as needed to maintain the security of the I-tip hair extensions and prevent accidental shedding.
5. Removal and special considerations
- Safe Removal Process
To remove I-tip hair extensions, use a specialized remover tool or oil to loosen nano rings gently. Avoid forcefully pulling the extensions, as this can damage natural hair. Slide the nano ring off and detach the I-tip strands slowly. - Scheduling Maintenance
I-tip hair extensions typically require maintenance every 8-12 weeks to adjust for natural hair growth. Plan regular touch-ups to reposition the extensions and ensure they remain comfortable and secure.
By adhering to these precautions, your I-tip hair extensions will maintain a natural appearance, secure fit, and prolonged lifespan. Always prioritize the health of your natural hair while enjoying the versatility of I-tip hair extensions.
Please contact us if you have any questions about our hair products or need assistance in making the right choice for your hair extensions!
(blog)