Contents
Remove I-Tip Hair Extensions
I-Tip hair extensions (also known as micro bead extensions) are a popular method that uses small copper rings or micro-rings to attach individual strands to your natural hair. Knowing how to properly remove I-Tip hair extensions is crucial for protecting your precious natural hair. Unlike methods that require adhesive, the process to remove I-Tip hair extensions is mechanical and, when done correctly, can be completely damage-free.
This guide incorporates professional stylist techniques to walk you through the process safely.
Remove I-Tip Hair Extensions‘ Golden Rule: Patience & The Right Tools
Before you begin learning how to remove I-Tip hair extensions, understand this essential rule: Never pull or cut the extension out! Forceful removal causes breakage. The key is to use the correct tools to gently release the micro-rings.
Tools You Will Need:
- Professional Micro-Ring Pliers: Essential for a safe removal. Standard pliers are not designed for this task.
- Leave-in Conditioner or Detangling Spray: Provides slip and reduces friction.
- Fine-Tooth Comb or Rat Tail Comb: For sectioning hair.
- Hair Clips: To manage sections and secure removed extensions.
- Mirror: To ensure visibility, especially at the back of your head.
Step-by-Step Guide: How to Remove I-Tip Hair Extensions
Follow these steps meticulously and maintain patience throughout the process.
Step 1: Preparation & Lubrication
Begin by gently detangling all hair with a comb. Then, generously spray a detangling spray or apply a diluted leave-in conditioner throughout the extension area, focusing on the micro-rings. This provides crucial slip, allowing the extension to slide out easily with minimal tension.
Step 2: Section Your Hair
Divide your hair into manageable sections. Start from the very bottom layer of your hair, using clips to secure the upper layers. Working on one extension at a time ensures you don’t miss any rings and keeps the process organized.
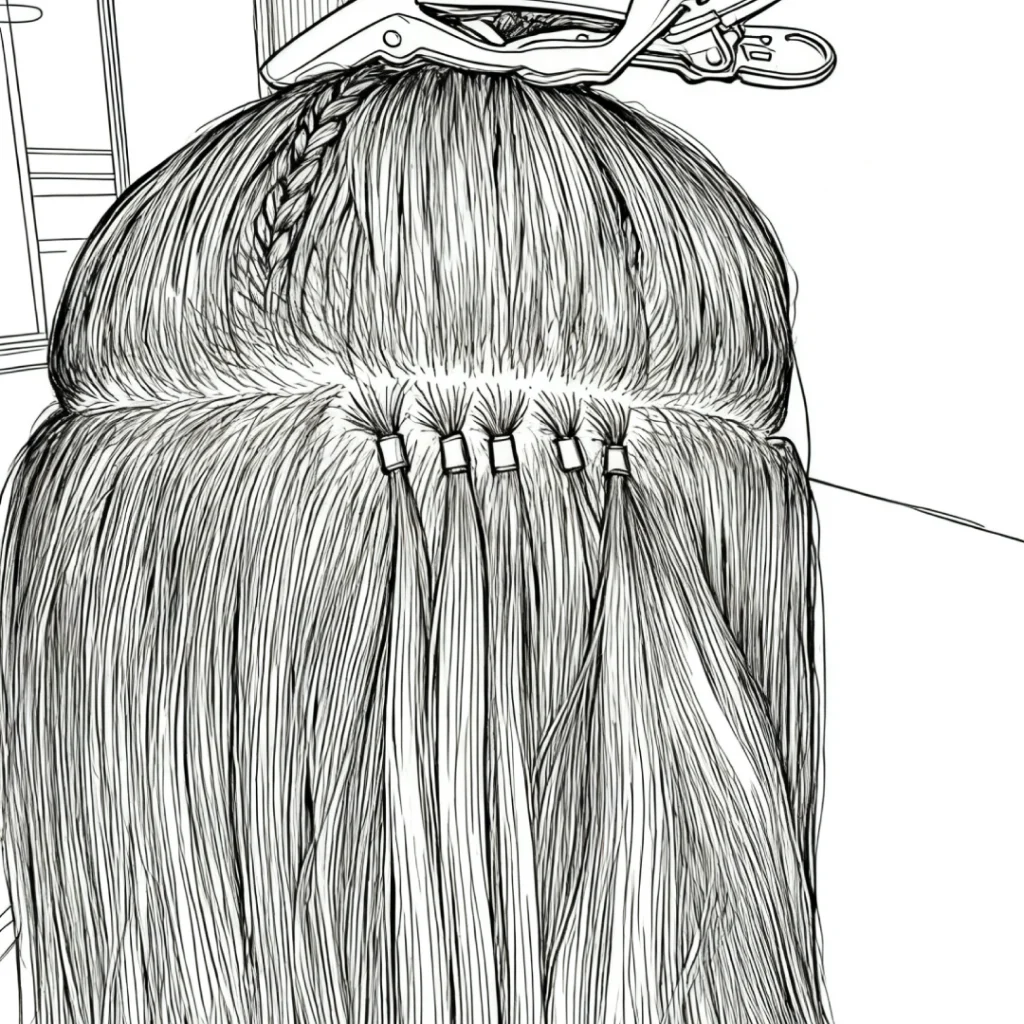
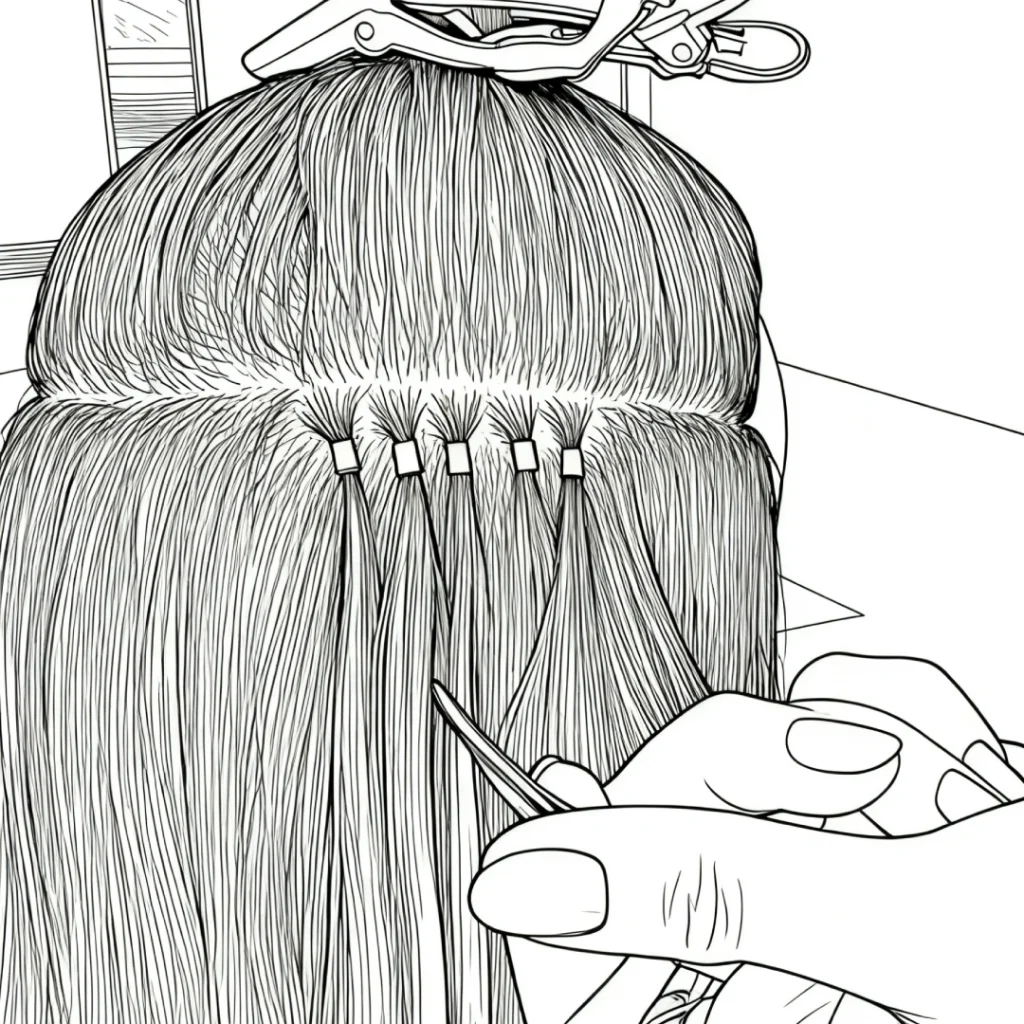
Step 3: Locate and Grip the Micro-Ring
This is the most critical step for safely learning how to remove I-Tip hair extensions.
- Use the fingers of one hand to locate the small copper ring (micro-ring) on the I-Tip extension.
- With your other hand, take the micro-ring pliers and precisely grip the center of the micro-ring. Ensure you are clamping the metal ring itself, not your natural hair or the extension hair.
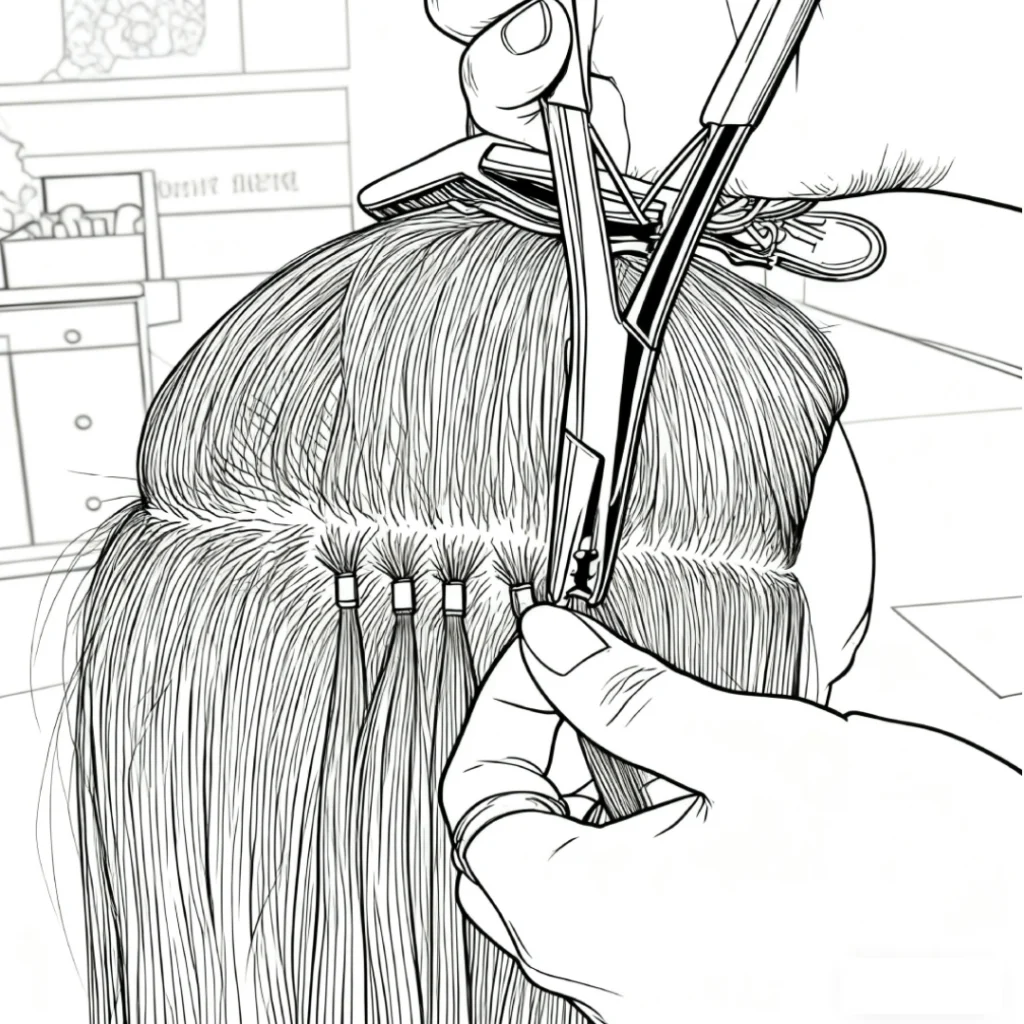
Step 4: Apply Pressure to Release the Ring
- Hold the pliers steady and squeeze the handles gently.
- You will feel the micro-ring deform or open under the pressure. Once released, its grip on your hair will be broken.
- Pro Tip: While squeezing the ring, use the fingers of your other hand to pinch the base of the I-Tip extension and gently slide the extension out of your now-released natural hair.
Step 5: Remove and Continue
Once you successfully remove I-Tip hair extensions, set them aside. Move to the next extension and repeat Steps 3 and 4, working your way from the bottom up until all extensions are removed.

Step 6: Collect the Micro-Rings
After all extensions are out, you may find loose micro-rings still in your hair. Gently remove them with your fingers or a comb. Professional micro-ring pliers often have a dedicated notch on the nose to assist with this.
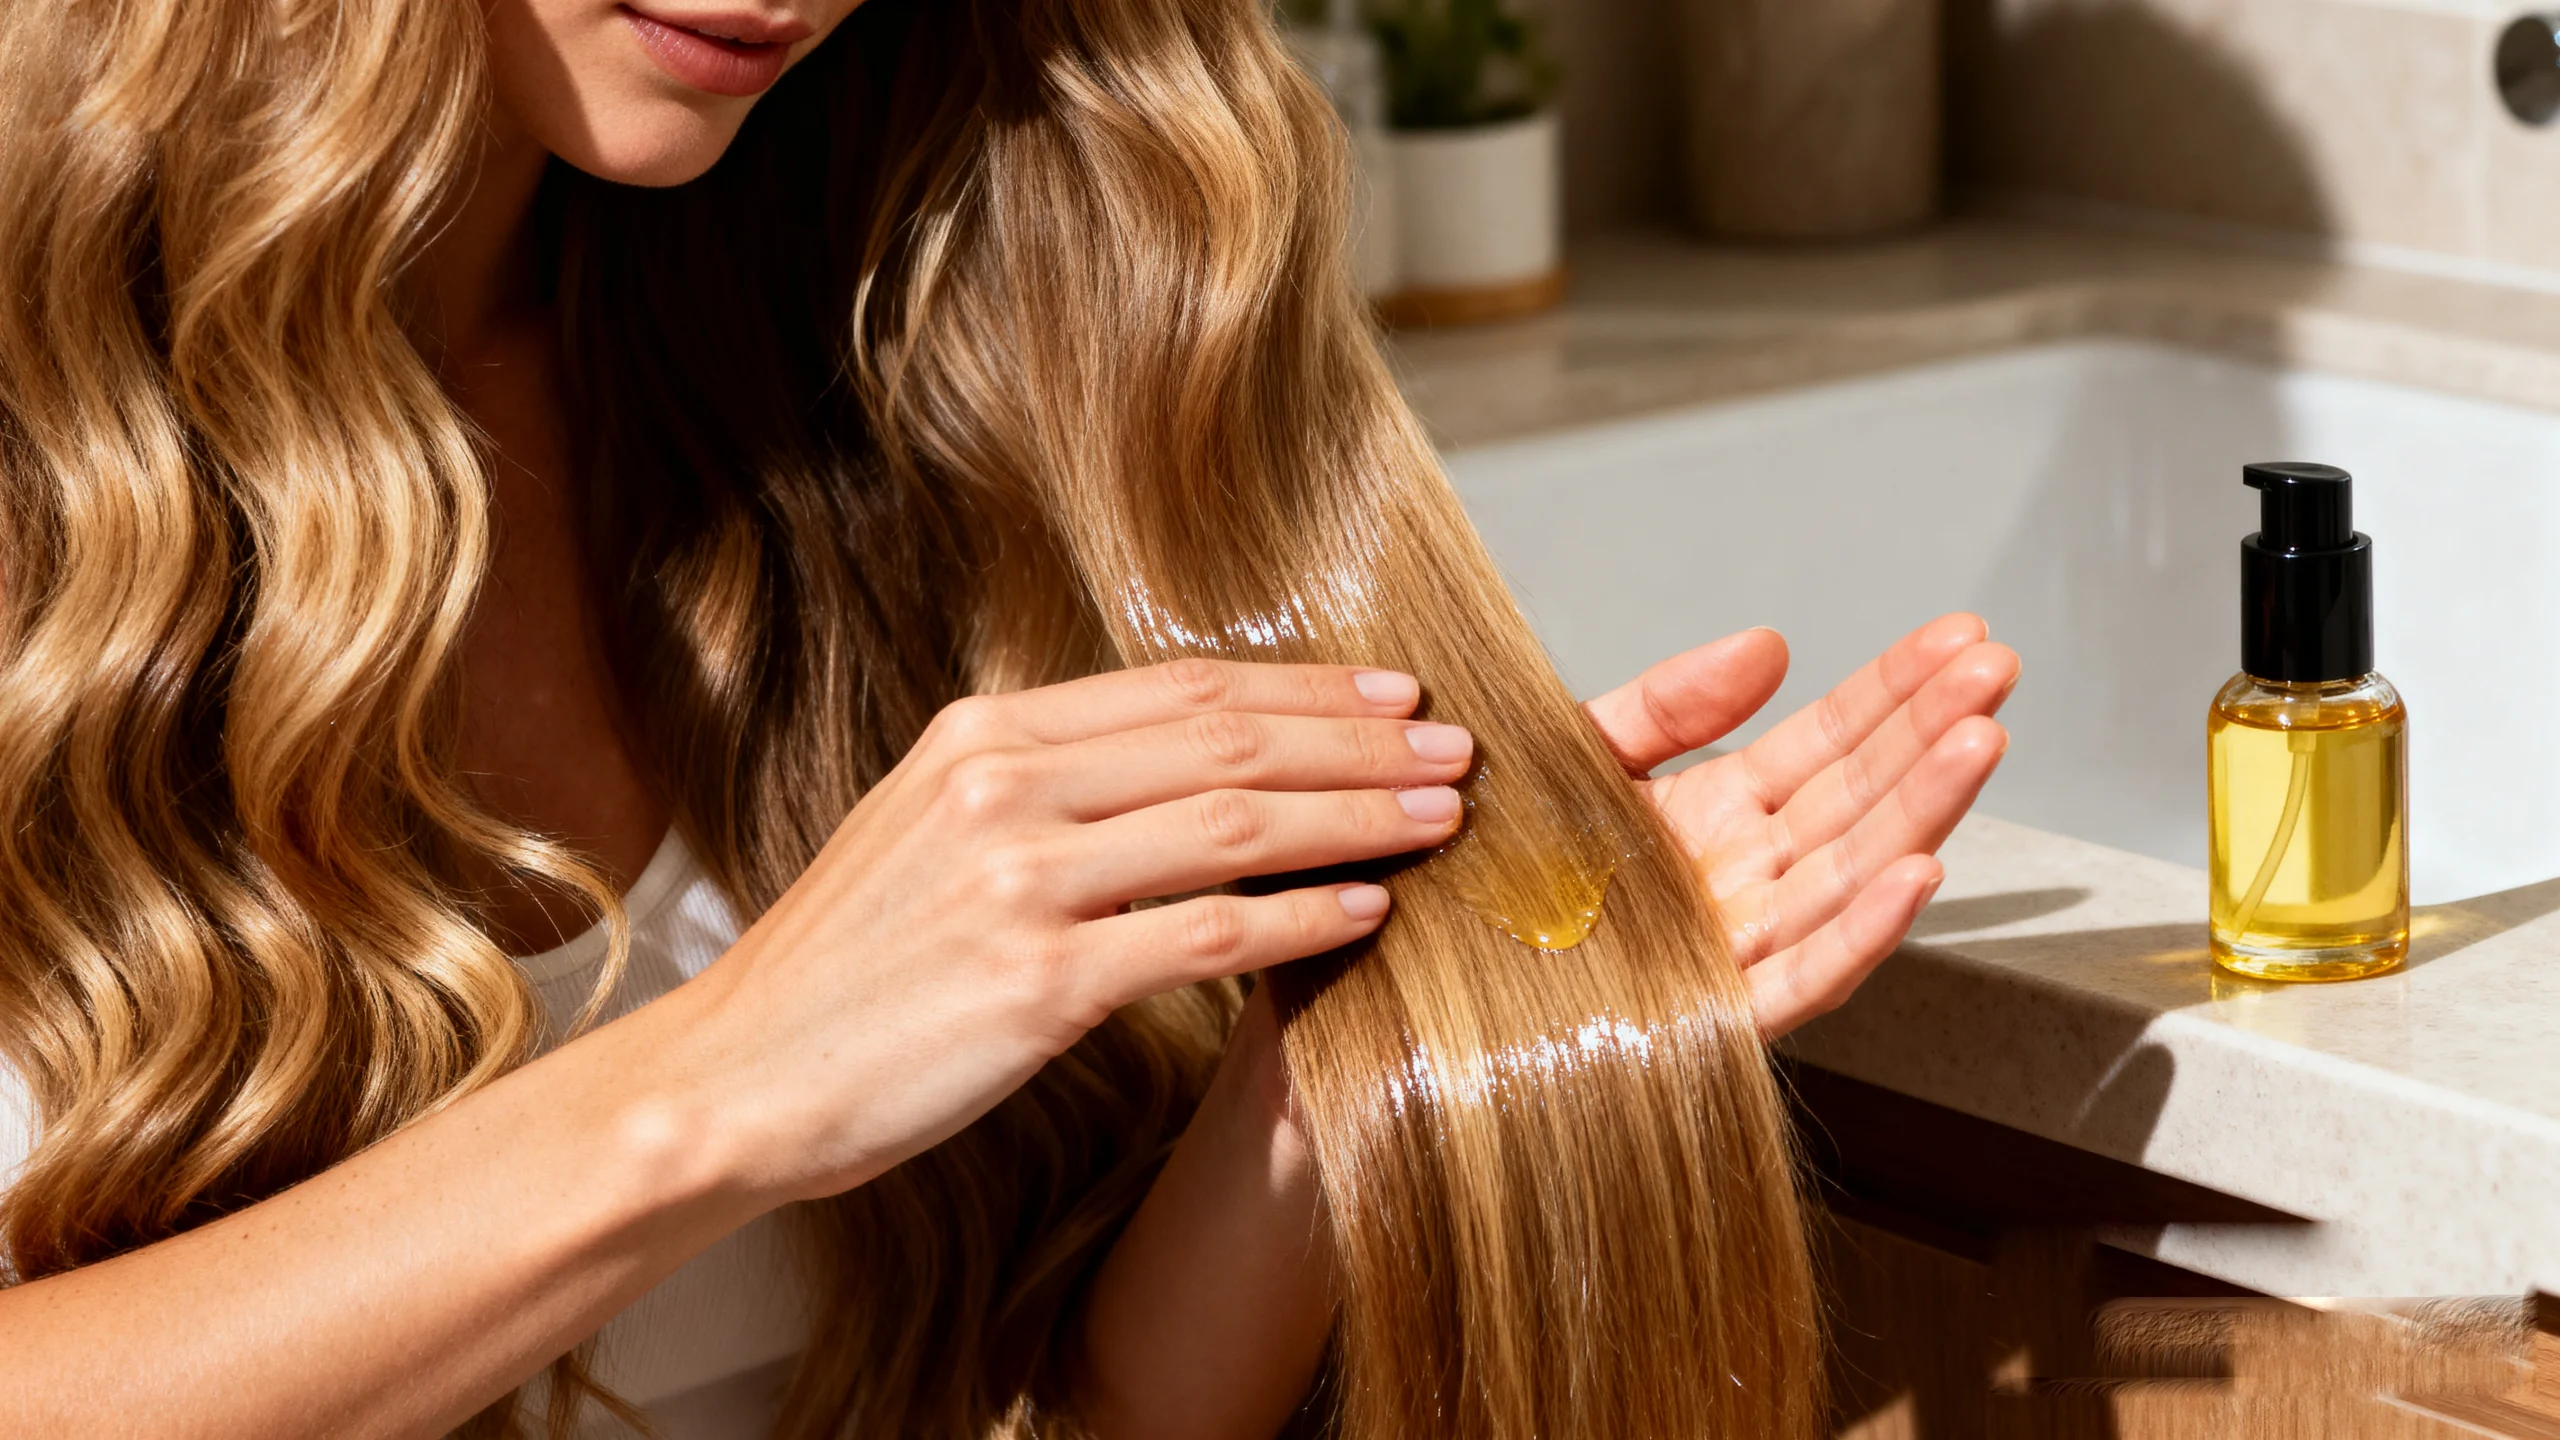
Essential Care After Removing I-Tip Hair Extensions
| For Your Natural Hair: | For the I-Tip Extensions: |
| Gentle, Thorough Cleansing: Use a moisturizing shampoo and conditioner to thoroughly wash your hair and scalp, removing months of accumulated oils and product buildup. | Professional Servicing: If you plan to reuse the extensions, return them to a professional stylist. They can clean, re-tip the strands with new micro-rings, and prepare them for future use. |
| Deep Conditioning Treatment: Follow immediately with an intensive hair mask to replenish moisture and nutrients lost during the wear period. | |
| Give Your Scalp a Rest: Allow your hair and scalp to rest for several weeks before considering another extension application. |
Learning how to remove I-Tip hair extensions is a valuable skill that helps you maintain hair health between salon visits. With the right tools, patience, and a gentle technique, you can safely complete the removal, keeping your natural hair strong and beautiful.
Feel free to reach out to us if you have any questions about our hair products or need assistance in making the right choice for your hair extensions!
blog