
Contents
Install U-TIP Hair Extensions?
Install U-TIP Hair Extensions
Installation of U-TIP Hair Extensions

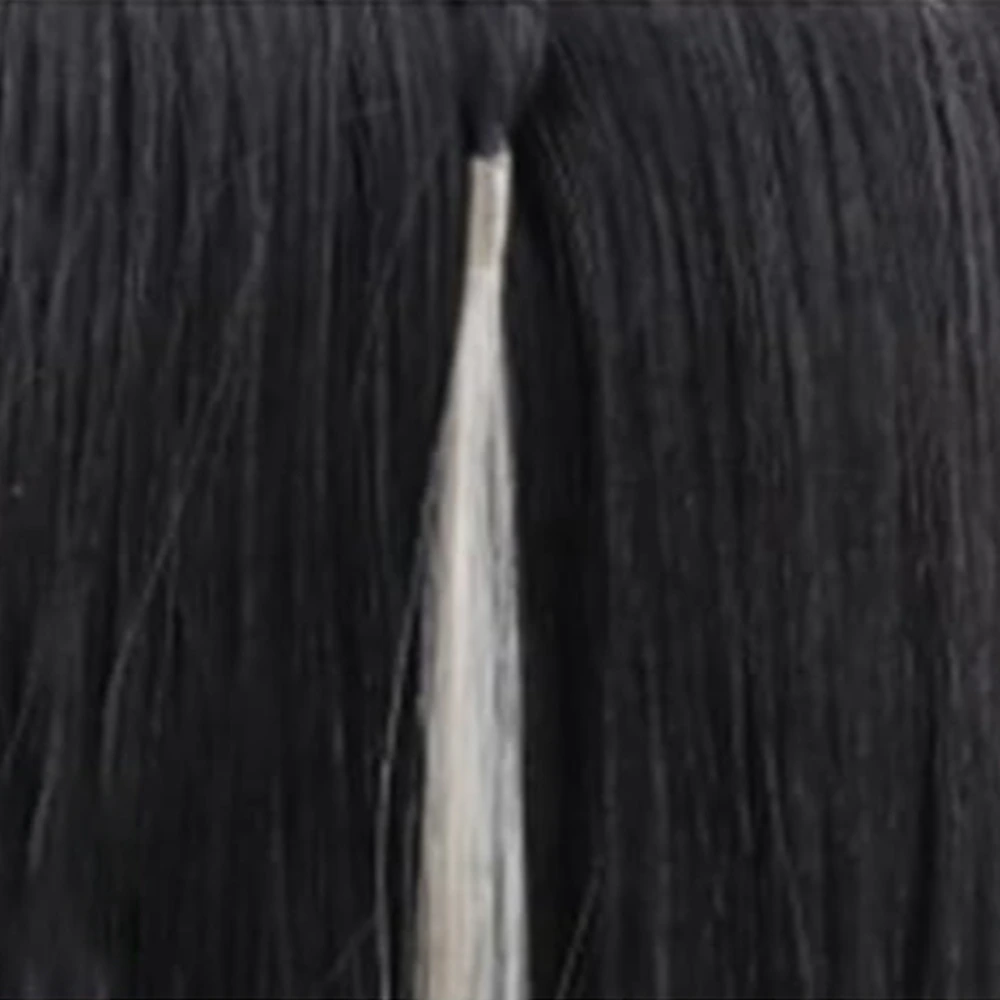
1.Part Hair: With a tail comb.createneat sections.
2.Select Strands: Choose a strand of hair that matches the extension’s

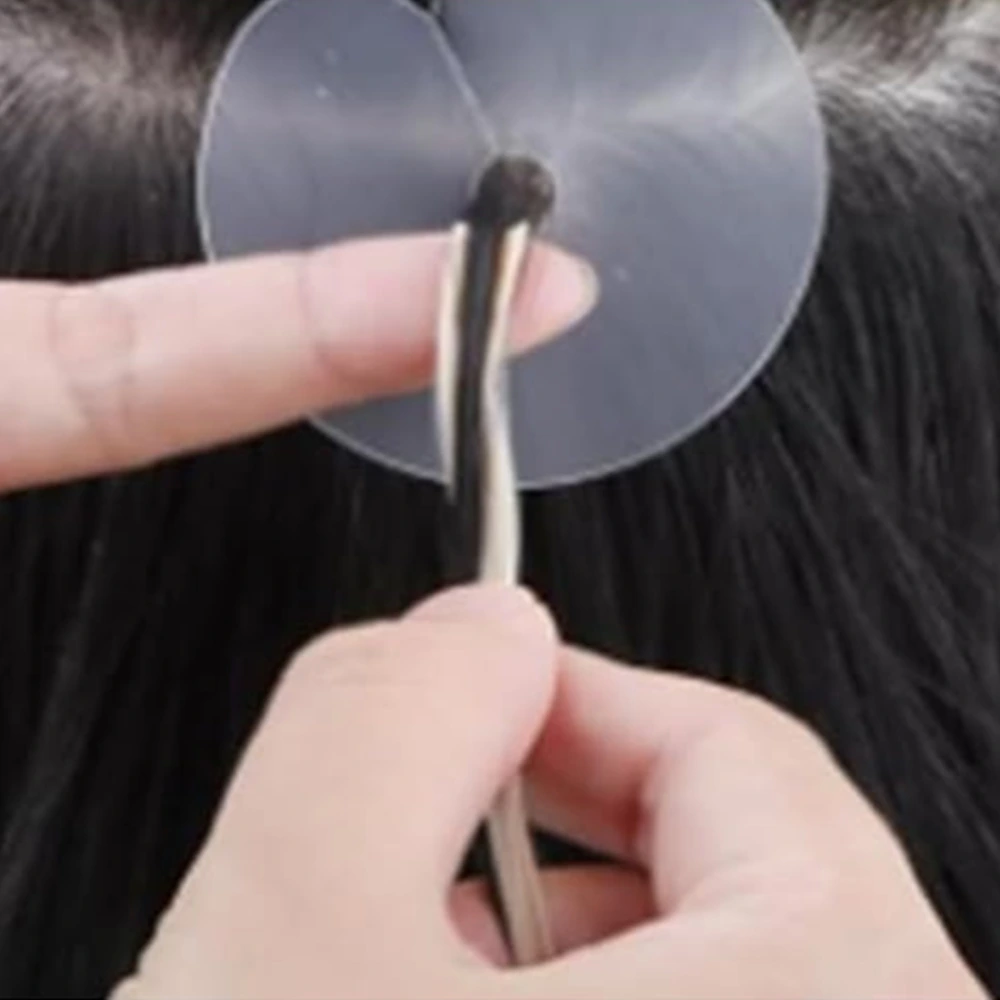
3.Attach Extension:
Position the extension close to
the scalp with a hair stick.
4.Bond Extension:
Heat the bond with a special tool,then quickly wrap to secure.
Here’s a video that will help you understand how to install U-TIP hair extensions
Wearing Precautions for U-tip Hair Extensions
1. Pre-installation preparation
Before installing U-tip hair extensions, ensure natural hair is clean, dry, and free of tangles. Oily or damp hair can compromise the grip of nano rings, leading to instability in U-tip hair extensions. Prepare installation tools including a threader, nano rings, and smooth-jaw pliers, and verify that each U-tip strand has intact bonds to avoid premature shedding .
2. Installation steps for secure attachment
- Sectioning Hair: Divide natural hair into small sections starting from the nape, using a tail comb to create uniform layers. This ensures even distribution of U-tip hair extensions and prevents lumping .
- Threading Nano Rings: Use a threader to load a nano ring, then hook a small strand of natural hair and the U-tip extension together. Guide the U-tip through the nano ring, positioning it 0.5–1.0 inch from the scalp to avoid excessive tension .
- Clamping Nano Rings: Using pliers, gently clamp the nano ring around the combined strands. Ensure the clamp is firm but not overly tight to prevent hair breakage. Repeat this for all U-tip hair extensions to maintain consistent security .
3. Post-installation maintenance
- Immediate Care: Avoid washing hair within 24 hours of installing U-tip hair extensions to allow the nano rings to set properly. Excessive moisture during this period may weaken the hold .
- Daily Detangling: Use a wide-tooth comb to gently detangle U-tip hair extensions from the ends upward, avoiding pulling at the roots. This prevents stress on the nano rings and reduces shedding .
4. Styling and longevity tips
- Heat Styling Restrictions: If U-tip hair extensions are made of human hair, limit heat tools to below 150°C and apply a heat protectant spray. Excessive heat can damage the keratin bonds, compromising the stability of U-tip hair extensions .
- Regular Inspections: Check nano rings weekly for looseness or corrosion. Tighten or replace worn rings promptly to prevent U-tip hair extensions from slipping out and to maintain a natural appearance .
5. Removal and scheduling considerations
- Safe Removal: Use a specialized remover oil to loosen nano rings gently before sliding them off. Avoid forceful pulling, as this can damage natural hair. Remove U-tip hair extensions strand-by-strand to minimize breakage .
- Maintenance Cycle: Plan to adjust U-tip hair extensions every 8–12 weeks to accommodate natural hair growth. This ensures the extensions remain comfortable and avoids excessive tension on the scalp .
By following these precautions, U-tip hair extensions will stay securely attached, maintain a natural look, and minimize damage to natural hair. Regular care and proper installation are key to maximizing the lifespan of U-tip hair extensions while enjoying their versatility.
Please contact us if you have any questions about our hair products or need assistance in making the right choice for your hair extensions!
(blog)